|
New from Old: Hardwood Cuttings
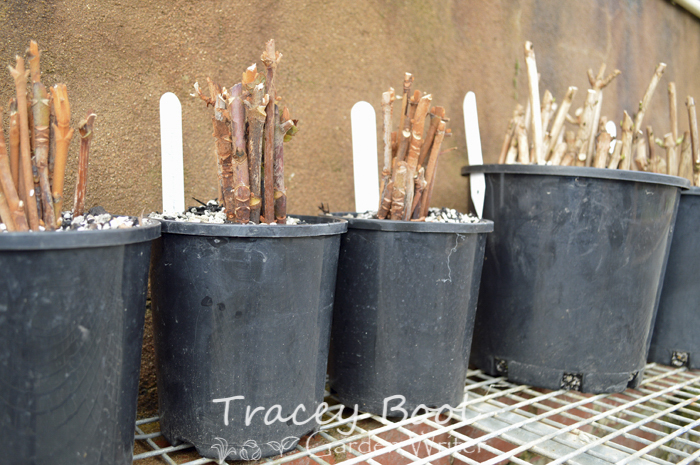
(19 June 2014) With winter upon us and autumn glory fast becoming a distant memory, it’s time to prepare and take hardwood cuttings of all those lovely plants you simply cannot do without. Producing new plants from old is an inexpensive way of filling your garden and is lots of fun. It is a rewarding and somewhat addictive pastime, one which can be as simple or as complex as you desire. Hardwood cuttings suit plants such as deciduous trees, shrubs, and climbers, and also fruiting plants and canes (delightful raspberries for instance). The beauty of hardwood cuttings is that they are generally more forgiving than other cutting types as the plants are dormant and free of foliage, and therefore less prone to dehydration. Many species don’t require additional heating either, making it easier for backyard gardeners. And unlike soft and semi-hardwood cuttings, you can keep hardwood cutting material in the fridge for up to a month before using without any ill-effects. The following tips will help get you started with hardwood cuttings but is by no means extensive: When? From directly after leaf fall in autumn right through to late winter before new buds begin to burst (dependent on species). Where? As a single, long-term specimen in a pot (not too big to begin with though as they will feel a bit lost); in bunches to be re-potted/planted out once callouses have formed at root nodes; in situ in the garden or planted into short-term trenches (ensure drainage is adequate - raised beds with coco peat and coarse river sand component is one way of meeting this requirement). A warm, protected position is advantageous for both potted and in-ground cuttings. How? Take cuttings around 15-30cm in length from mature 1yr old wood. Material should be healthy and vigorous. Use clean, sharp parrot-style secateurs, not anvil-style, which tend to crush the stem. Top of cutting: cut on slight angle above bud taking care not to damage it (if buds are opposite then make cut horizontal); Bottom of cutting: make horizontal cut below stem. Dip bottom of cutting in hormone gel/powder designed for hardwood cuttings. Hormone is not necessary for many species so it is worth looking into beforehand. As a safeguard, you can also dip cutting in fungal powder to help prevent rotting of the stem before roots begin to form. Plant at least two plant nodes of cutting into sterilised propagation mix/soil and keep moist but not wet. Label cuttings with date, plant type and quantity. Record any relevant information in your gardening diary as an invaluable reference tool. Remember: It pays to research the type of plant you intend on propagating beforehand in order to best meet its individual requirements (i.e. quirks) and obtain high success rate. Try not to get bogged down in information though as it can get a bit overwhelming and varies dependent on opinion. Hardwood cuttings take longer than soft or semi-hardwood cuttings as they are in sleep mode, so be patient but diligent in keeping an eye on them. Take more cuttings than needed to cover any losses, and lastly, but certainly not least, watch you don’t plant them upside down! |
|
